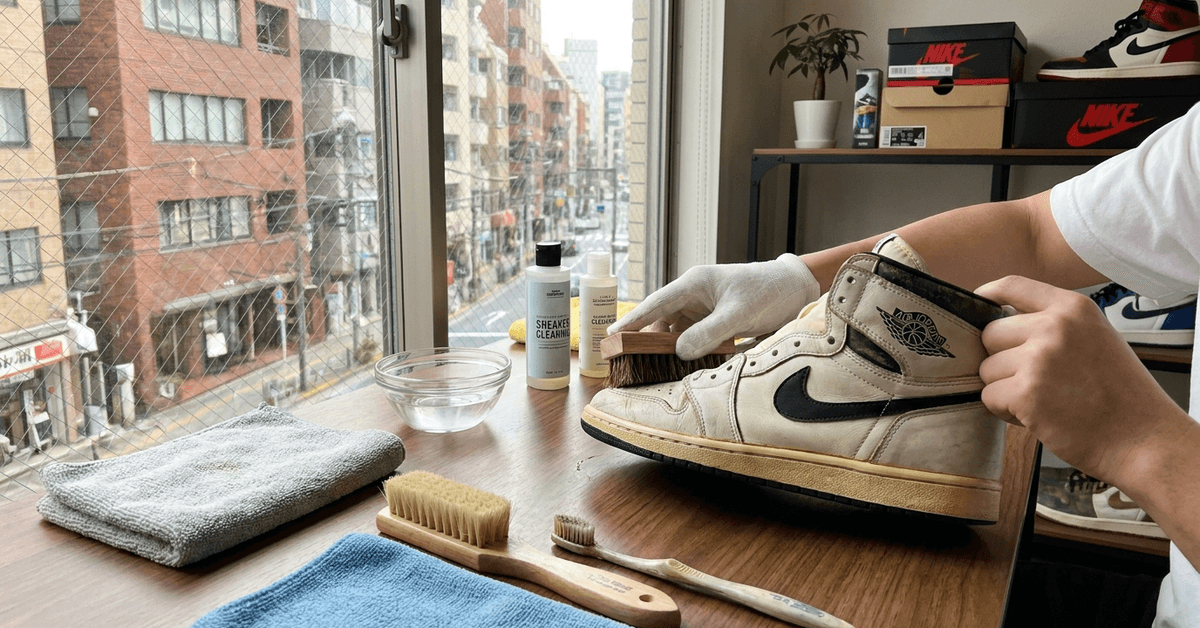
A deadstock pair of 2003 Air Force 1s still in the box has a specific resale number attached to it. One wrong cleaning move, a wet suede brush or a splash of detergent on old glue, and that number drops permanently.
The usual sneaker cleaning guides assume every pair gets treated the same way. But a shoe that sat in a closet for fifteen years and a shoe that logged daily subway rides need completely different handling.
This piece is for the collector who just scored a vintage or deadstock pair and wants to keep its condition (and price tag) intact. Not the person buffing out scuffs on daily beaters.
The Deadstock vs. Vintage Worn Split That Changes Everything
Every cleaning decision depends on one question: has this shoe been worn? The answer changes the tools, the technique, and the aggressiveness of every step that follows.
Deadstock Pairs Need Almost No Cleaning
A pair that has never touched pavement has no ground-in grime. The main threats are dust, storage odor, and oxidation. Reaching for soap and water on an unworn shoe is like power-washing a car that’s only been parked in a garage.
Dry brushing with a soft-bristle sneaker brush like the Reshoevn8r brush handles almost everything a deadstock pair will throw at you.
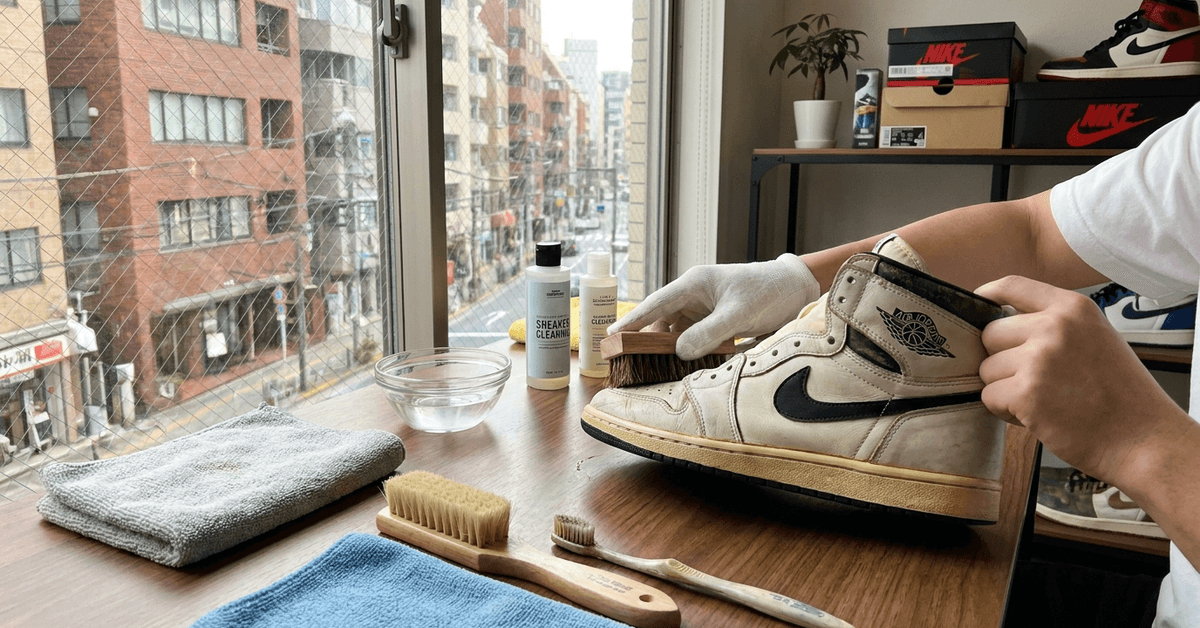
I would skip liquid cleaning solutions entirely on any deadstock pair with intact original glue.
Old adhesive breaks down on contact with water, and once a midsole starts separating, no amount of re-gluing brings back structural integrity. The shoe looks fine on the outside while the bond underneath is already weakened.
Vintage Worn Pairs Can Handle More
Pairs that have been walked in already have compromised glue, stretched uppers, and embedded dirt.
These shoes tolerate a mild soap solution because the materials have already been exposed to moisture and friction. The risk profile is lower, though caution still applies around stitching, printed insoles, and foam midsoles that have started to crumble.
Know the Material Before Touching the Shoe
Sneakers built in the early 2000s or the 1990s used different material compositions than modern releases.
A single pair might combine leather panels, mesh tongue linings, suede overlays, and foam midsoles, each reacting differently to moisture and pressure.
Leather, Suede, Canvas, and Mesh Each Have Rules
The surface of the shoe dictates the tool. Getting this wrong causes damage that no amount of careful follow-up can reverse.
- Leather panels tolerate gentle soap and water but dry out fast. Conditioning after cleaning prevents cracking, especially on pairs from the late ’90s.
- Suede should never touch a wet brush. A dry suede-specific brush moves in one direction only. Watermarks on suede are nearly impossible to remove once set.
- Canvas holds stains deep in the weave but handles light scrubbing better than other materials. The fabric itself is forgiving; the glue underneath it is not.
- Mesh tears under pressure. A soft brush with zero downward force is the only safe option. Thinning mesh on a vintage pair means the shoe’s structural life is almost over.
Tag inspection matters. If the original box or inner tag lists materials, start there. Guessing on a pair of 2001 Dunks that might be nubuck rather than suede can end in a stain that becomes permanent.
The Colorfastness Test Nobody Wants to Do
Testing a new solution on a hidden spot, like the inside of the tongue, takes thirty seconds and prevents disasters. Vintage dyes are unstable.
A pair that sat in a warm apartment for a decade might bleed color at the first drop of cleaning solution. This step feels unnecessary until a red dye streak runs across a white midsole panel.
The Step-by-Step Cleaning Process for Vintage Sneakers
Assuming the pair has been worn and does need cleaning, a careful sequence keeps risk low. The goal is always minimal water contact and slow drying.
Prep the Pair First
Pull the laces out and remove insoles. Laces trap debris between the fibers, and cleaning them while still threaded through eyelets just pushes dirt deeper. Insoles with printed logos or artwork fade when soaked, so they get spot-cleaned separately.
Take a photo of the shoe before touching it. Sneaker communities on r/Sneakers recommend this as a baseline for any resale or trade. If something goes wrong during cleaning, the before photo becomes documentation.
Dry Brush, Then Decide on Liquid
Start every cleaning session with a dry brush pass over the entire shoe. A surprising amount of surface dust comes off without any liquid at all. For pairs that were stored properly, this single step might be the whole job.
If grime remains after dry brushing, mix two to three drops of mild, unscented soap in a small bowl of lukewarm water. Not hot. Not cold. Lukewarm. Hot water loosens adhesive bonds faster than anything else in a home cleaning kit.
Cleaning Uppers vs. Soles
The upper and the sole need different levels of pressure.
| Area | Tool | Pressure Level | Drying Method |
|---|---|---|---|
| Leather upper | Soft brush + mild solution | Light, short strokes | Microfiber towel pat-dry |
| Suede upper | Dry suede brush only | Minimal, single direction | Air dry at room temp |
| Rubber outsole | Magic Eraser or firm brush | Moderate pressure OK | Wipe clean |
| Foam midsole | Soft brush, barely damp | Very light, no soaking | Stuff with acid-free paper |
The biggest mistake on vintage midsoles is letting moisture sit. Old foam absorbs water and either crumbles or develops a musty smell that never fully leaves.
Drying: The Part That Causes the Damage
I think most collectors ruin vintage pairs during drying, not during cleaning. Artificial heat sources like hair dryers or radiators warp rubber and separate glued panels within minutes. Direct sunlight yellows white leather and bleaches colored suede.
The only safe method: air dry at room temperature with acid-free tissue paper stuffed inside for shape retention.
Newspaper ink transfers onto light-colored interiors when humidity rises, so skip it. A mesh drying rack works well in humid cities like Singapore or Miami where ambient moisture slows the process.
Plan for 24 to 48 hours of drying time on a pair with foam midsoles. Rushing this step is the single fastest way to destroy a vintage shoe.
Storing Vintage Sneakers After Cleaning
A freshly cleaned pair that goes back into a damp cardboard box will develop the same problems within weeks. Storage conditions matter more than cleaning frequency.
Climate Control and Silica Gel
Silica gel packets inside the box absorb ambient moisture. Two packets per box is a standard practice among collectors. Store the box away from windows, exterior walls, and any heat source.
Temperature swings cause more long-term damage than consistent warmth or consistent cool. A closet interior wall is typically the most stable spot in a city apartment.
When to Call a Professional
Some jobs are beyond home cleaning.
- Severe yellowing on iced or translucent soles requires chemical treatments that can damage other materials if applied incorrectly.
- Sole separation needs industrial-grade adhesive and proper clamping. Superglue fails on vintage foam.
- Deep stains on suede might respond to professional steam cleaning but will not come out with home tools.
Specialty sneaker shops in cities like Tokyo and Amsterdam offer restoration services calibrated for older pairs.
The cost ranges depending on the damage, but for a pair worth several hundred dollars on the resale market, professional cleaning often pays for itself.
Questions People Ask About Cleaning Vintage Sneakers
These come up constantly in collector forums and resale communities, and the answers are simpler than they seem.
- Q: Can I put vintage sneakers in the washing machine?
Never. The spin cycle warps vintage soles, and the water temperature is uncontrolled. Machine washing is the fastest way to turn a collectible pair into a write-off. - Q: How often should I clean deadstock sneakers?
If they’re truly unworn and stored well, a dry brush pass every few months is plenty. Liquid cleaning on a deadstock pair should only happen if something has spilled on them or visible mold appears. - Q: Should I clean vintage sneakers before selling them?
A light cleaning helps presentation, but disclose any cleaning to the buyer. Some collectors prefer to buy uncleaned pairs so they can assess original condition themselves. Over-cleaning to hide flaws is a fast way to catch a return dispute.
Conclusion
The ritual of caring for old sneakers connects a collector to the era those shoes came from, to the city corners and concrete they were built for.
Proper technique protects both the leather and the story. A soft brush, patience, and zero heat are the three things that separate a preserved pair from a damaged one.
Treat the shoe the way its original designer intended: carefully, slowly, and with respect for the materials.